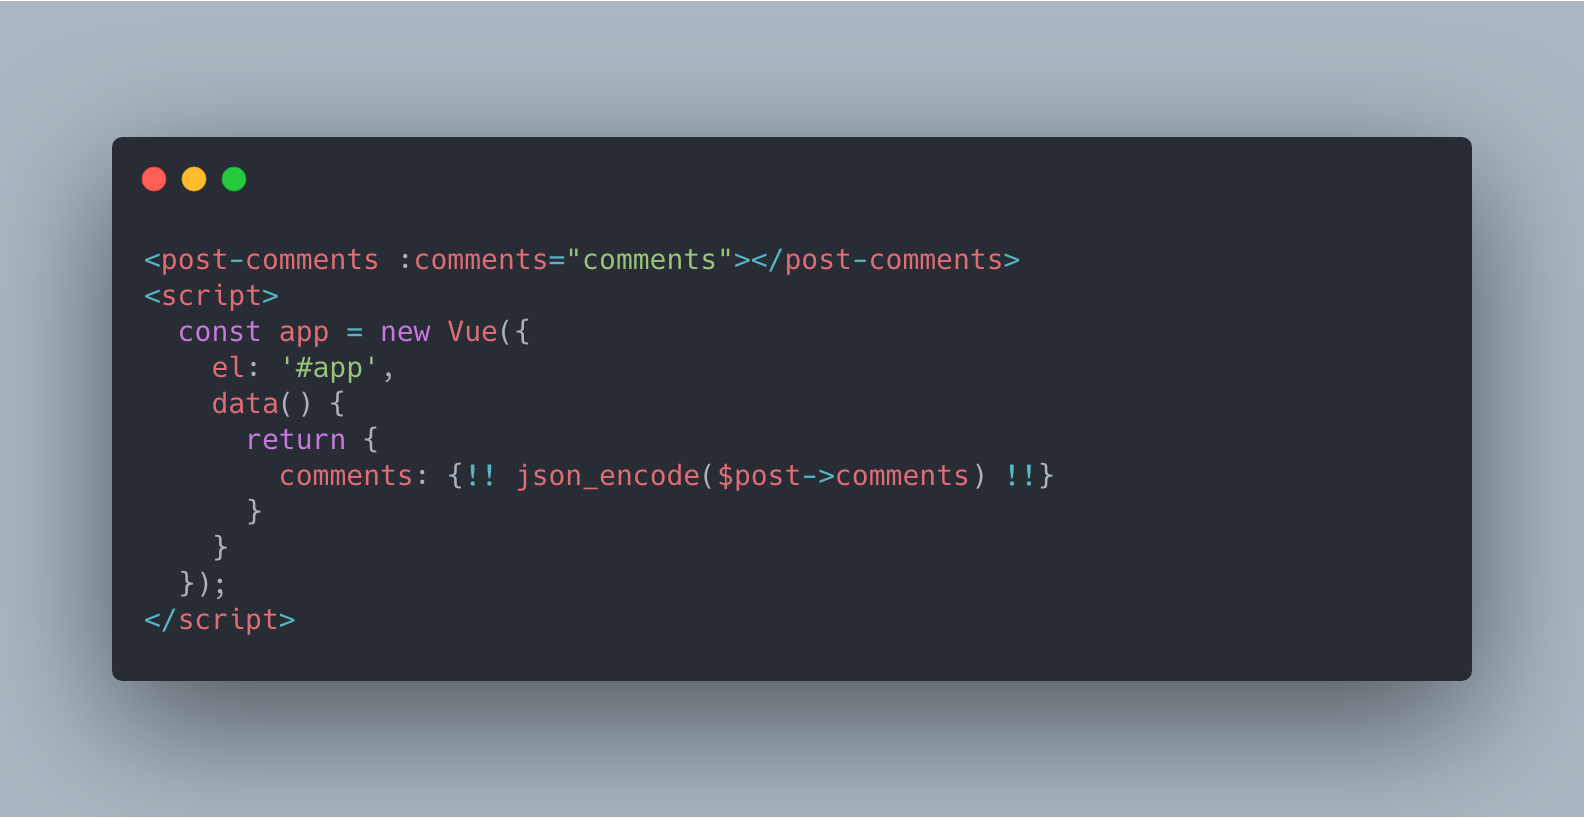
I’ve been working on projects that use both Vue and Laravel for the last two to three years, and during the start of each’s development I have to ask myself “How am I going to pass my data from Laravel to Vue?”. This applies to both applications where the Vue frontend components are tightly coupled to Blade templates, as well as single-page applications running completely separate of the Laravel backend.
Here’s four different ways to get your data from one to the other.
Directly echo-ing into the data object or component prop

- Pro: Simple and straightforward
- Con: Has to be used with Vue apps that are embedded in Blade templates
Arguably the easiest way to move data from your Laravel application to a Vue frontend. Using either of the methods above you can just echo out JSON encoded data to be picked up by your app or its components.
The biggest downside to this however, is extensibility. Your JavaScript will need to be exposed directly in your template files so that the engine can render out your data. This shouldn’t be a problem if you’re using Vue to add some basic interactivity to a page or area of your Laravel site, but you’ll easily hit a wall trying to force data into packed scripts.

Using custom components and Laravel’s json blade directive does allow you to move data into props easily. This method lets you to compartmentalize your Vue code, bundling your scripts with webpack or mix, while still being able to inject data directly into them.
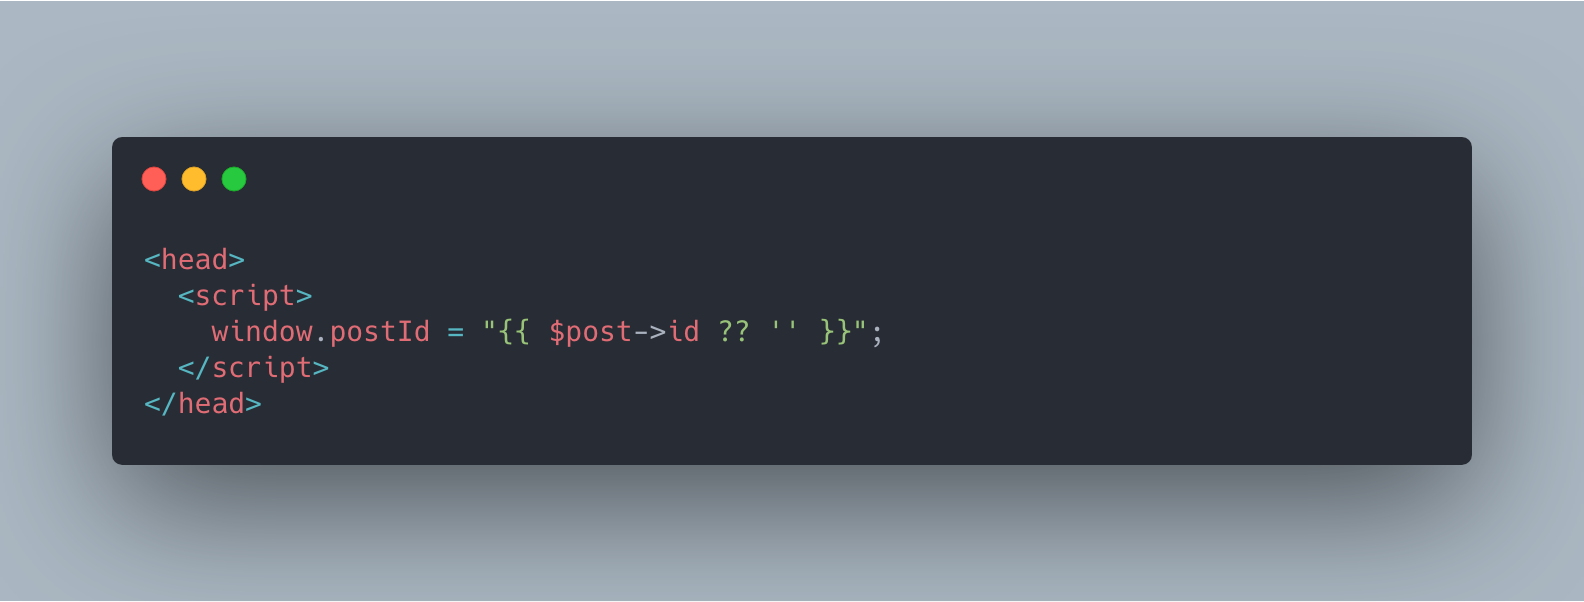
Injecting items as global window properties

- Pro: Globally available across the entire Vue app and any other scripts
- Con: Can be messy and generally isn’t recommended for large data sets
While this might seem a little hack-y, adding in data to the window object easily allows you to create global variables that are accessible from any other script or component being used on your app. In the past, I’ve used this as a quick and dirty method of storing and accessing API base urls, public keys, specific model IDs, and a variety of other small data items that I’d need to use across my whole frontend.
There is a slight caveat with using this method though, and that’s how you access the data inside of Vue components. Inside of your template, you won’t be able to use something like the below, since Vue assumes the window object you’re trying to access will lie inside that same component:
// won't work<template> <div v-if="window.showSecretWindow"> <h1>This is a secret window, don't tell anyone!</h1> </div></template>Instead, you’ll need to use a computed method that returns the value:
// will work<template> <div v-if="showSecretWindow"> <h1>This is a secret window, don't tell anyone!</h1> </div></template><script> export default { computed: { showSecretWindow() { return window.showSecretWindow; } } }</script>If your use case for this method is smaller strings or numerical values and you’re using Laravel’s mix to compile your assets, things can actually get pretty simple. You can reference values from your .env file in your JavaScript using the process.env object. For example, if I have API_DOMAIN=example.com in my environment variables file, I can use process.env.API_DOMAIN in my Vue component (or other JavaScript compiled with mix) to access that value.
Using an API with Laravel’s web middleware and CSRF tokens

- Pro: Easy to get started, perfect for Single Page Applications
- Con: Requires your frontend to be rendered by a blade template
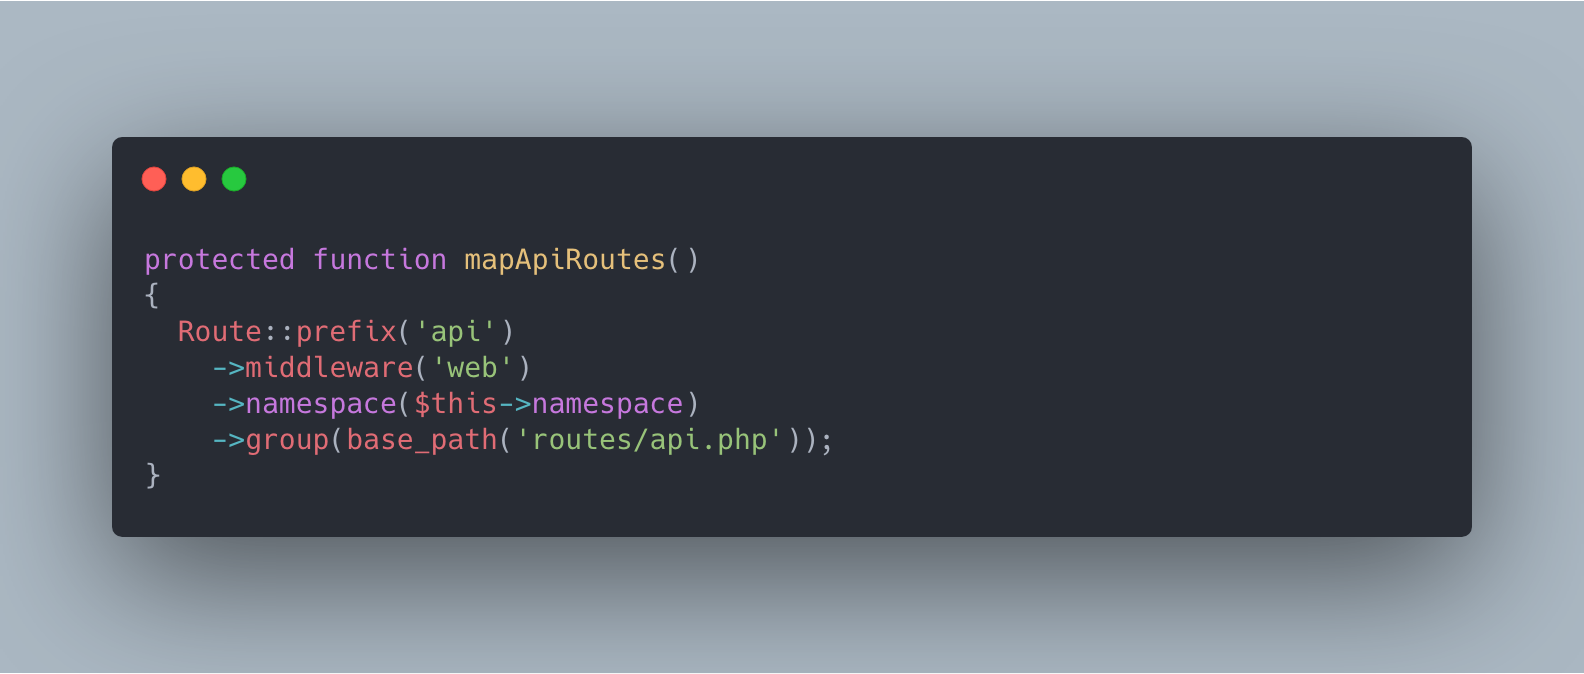
For me, this solution has been the most straightforward way to get started in the Vue frontend + Laravel backend world. Out of the box, Laravel comes with two different files for routes, web.php and api.php. These are pulled in and mapped through the RouteServiceProvider.php file in your app’s Providers directory. By default, the middleware for the web group is set to web, and the middleware for the api group is set to api.
Tracing this back to app/Http/Kernel.php you’ll notice that around line 30 there’s the two groups mapped out in an array, with the web group containing things like sessions, cookie encryption, and CSRF token verification. Meanwhile, the api group just has a basic throttle and some bindings. If your goal is to simply pull in information to Vue through a basic, lightweight api, that doesn’t require authentication or post requests, then you can stop right here. Otherwise, a single modification can be made that’ll ensure complete compatibility with Vue in just a few seconds.
Back on the RouteServiceProvider, swap out the api middleware in the mapApiRoutes method for web. Why are we doing this, and what does it do? It enables the routes that we’re pulling in through our api to also contain any session variables and tokens that our app’s regular web routes would normally use. When these are called with axios or another async JavaScript http client, we’re able to use Auth::user() and other validation techniques in the backend that we wouldn’t be able to do with the default api.
The only caveat of this method is that you’ll have to render out your frontend using Laravel and a blade template. This way the framework can inject the necessary session tokens and variables into the request(s).
Using API calls authenticated by a JWT

- Pro: Most secure and decoupled option
- Con: Requires third-party package to be installed and configured
JSON Web Tokens are a secure, easy to use method of locking down access to your API endpoints and using Tymon’s jwt-auth package makes adding the functionality to a new or existing Laravel app an absolute no-brainer.
Getting this functionality installed and configured on your API takes a couple short steps:
-
From your app root, run
composer require tymon/jwt-auth. There’s currently a transitionary period happening at the time of this article, so you may need to specify the version (e.g. 1.0.0-rc.5) -
If you’re in Laravel 5.4 and under, add the line
Tymon\JWTAuth\Providers\LaravelServiceProvider::class, to your providers array in config/app.php -
Publish the config file by running
php artisan vendor:publishand choosing the jwt-auth package -
Run
php artisan jwt:secretto generate the key needed to sign your app’s tokens
After that’s complete, you’ll need to specify what routes in your application will be protected by and authenticated against JWTs. You can do this by using the built-in api auth middleware, or roll your own that looks for the token in the sent request. In your API’s login method, you’ll use the same auth()->attempt method as a default Laravel app, except returned from it will be your JSON Web Token that you should pass back.
From there, your Vue app should store that token (in either LocalStorage or a Vuex store), and add it as an Authorization header in every outgoing request that requires it. Back on your Laravel app, you can use their token to reference the particular user making requests, passing back data that should be shown to just them.
If you’d like a more in-depth tutorial explaining how to install and integrate JWTs into your Laravel API, I’ve published a video and wrote a post about just that!
That’s it for now! If you have any questions or comments about the above, or want to just see helpful hints and industry news day-to-day, feel free to follow me on Twitter! In addition, if you’re looking for a super simple error and log monitoring service specifically for Laravel apps, I’ve built Larahawk. It’s currently in private beta and launching in October for $5/app/month.
My Newsletter
Read sampleSubscribe using the form below and about 1-2 times a month you'll receive an email containing helpful hints, new packages, and interesting articles I've found on PHP, JavaScript, Docker and more.
