tl;dr: github.com/aschmelyun/cleaver for more info
I know what you’re probably thinking, “Oh boy, another static site generator”. And you’d be right, but I’m hoping that the one I’ve created is a little different than ones you’ve been exposed to.
Instead of trying to be multiple things for multiple people, or instead of trying to be as friendly as possible to everybody, I've designed Cleaver to be as open to developers as possible.
Under the hood it's a pretty simple application, the core of which is just over 700 lines of code.
Where did it come from?
Born out of scratching my own itch, Cleaver was designed to help me rapidly build data-driven landing pages. The problem that I had with other SSGs on the market is that you're usually stuck between Markdown, or the language that the generator is written in. This wouldn't be a problem for something like a blog, or any content-heavy websites, but I ran into an issue trying to build documentation sites and online spec sheets.
I really wanted to be able to build a site from JSON, just like I would be if I was getting data returned to me from an API. So, I created just that!
Cleaver takes JSON files saved locally, and parses the data in them directly to PHP variables using the keys you've provided. This is passed through to Laravel's Blade templating engine, where everything is then compiled to static HTML files and saved in a directory tree that you set.
So, for example, your JSON that looks like this:
{ "view": "layouts.default", "path": "/posts/a-whole-new-world", "title": "A Whole New World", "description": "Shining, shimmering, splendid.", "items": [ "Three Forks", "Seven Spoons", "One Butter Knife" ]}Gets converted into the following PHP variables:
$view"layouts.default" $path"/posts/a-whole-new-world" $title"A Whole New World" $description"Shining, shimmering, splendid." $itemsarray("Three Forks", "Seven Spoons", "One Butter Knife")These are passed through to your Blade template of choice (in this case, located at views/layouts/default.blade.php) in the resources directory. Then you can use them just like you would in your Laravel application:
<h1>{{ $title }}</h1><h4>{{ $description }}</h4><ul> @foreach($items as $item) <li>{{ $item }}</li> @endforeach</ul>After compiling the site through the simple npm run dev script, it'll output the rendered static HTML file at posts/a-whole-new-world/index.html under the /dist directory.
You can see a better example of this on the repository containing the usecleaver.com landing page here.
Getting started
You'll want to make sure that you have the following installed on your machine:
- PHP
- Composer
- Node
- NPM
The easiest way to get started creating a Cleaver site, is to run the following command:
composer create-project aschmelyun/cleaver your-site-nameThis will download the latest version of Cleaver from the repo, install the required packages, and dump everything in a folder called your-site-name. Of course, please change that to reflect what you actually want your site directory to be.
Navigate in your terminal to the newly-created folder, and run the following command to install the required node packages and compile your site for the first time:
npm install && npm run devAfter a few minutes or so, your site should have been successfully built with the demo content included (a lite version of the usecleaver.com/docs page) and added into a /dist folder in the project root directory.
Let's move on to making a new page.
Creating and structuring a page
All of the content used to build your site is located in the resources/content directory. In here you can add JSON and Markdown files, organized and named in any particular way you see fit. Unlike a lot of other static site generators, the structure of your content directory does not affect the structure of the built site.
Inside each content file, there are two keys which have to be set in order for the page to be compiled successfully. Those are view and path. Let's see what each one of those does, and why they're important:
- view is the Blade template that the page will be compiled against. You can use and include other Blade templates in the specified file, but that is the one it will be built with.
- path is where this page will end up in your
distdirectory after Cleaver runs. For instance, if you have a site called myblog.com and want this page to exist at myblog.com/posts/a-cool-post, your path value would be/posts/a-cool-post.
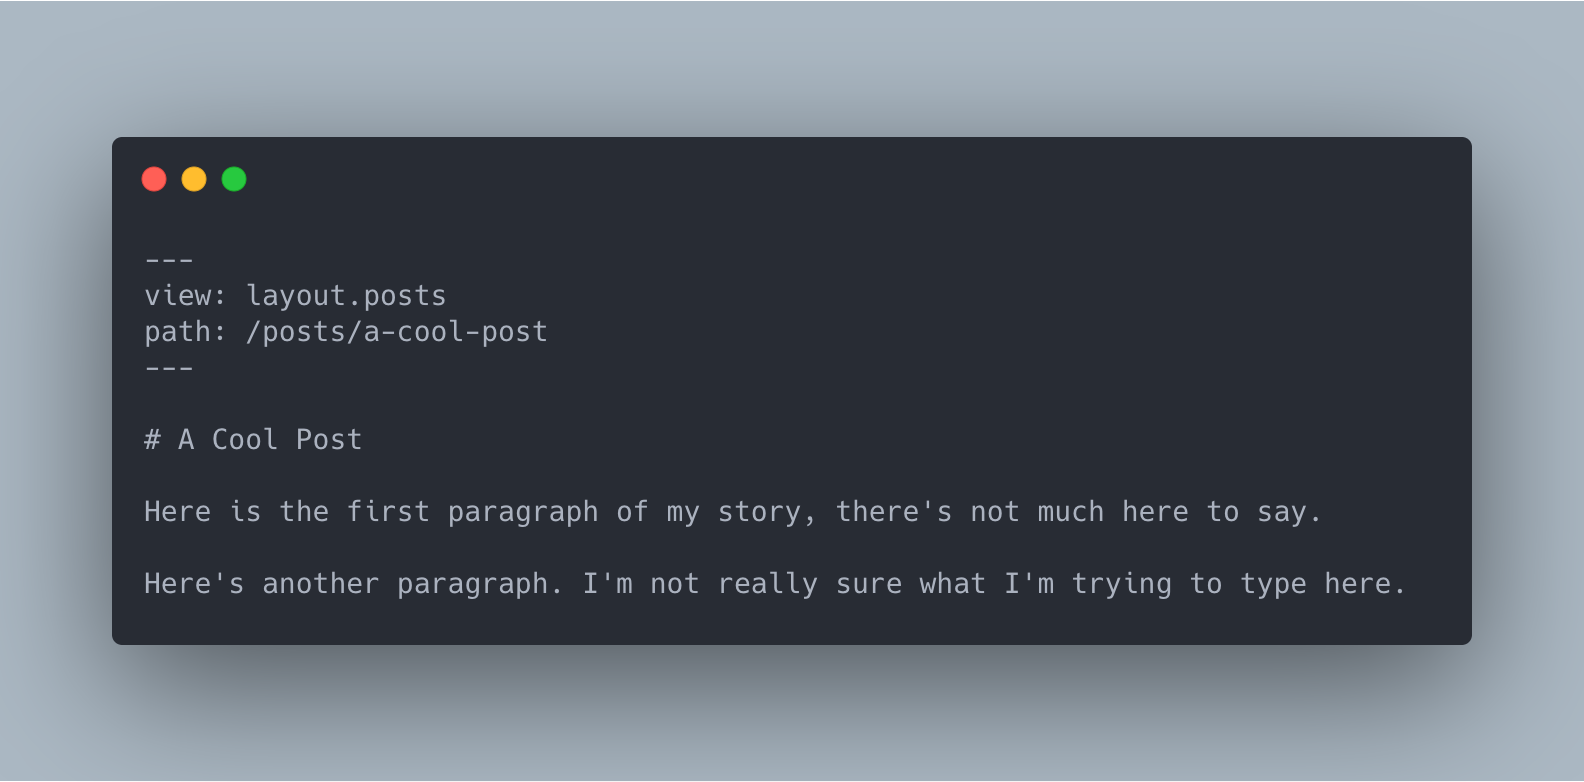
As stated before, Cleaver accepts both JSON files as well as Markdown. Here's an example of each being used for similar pages:
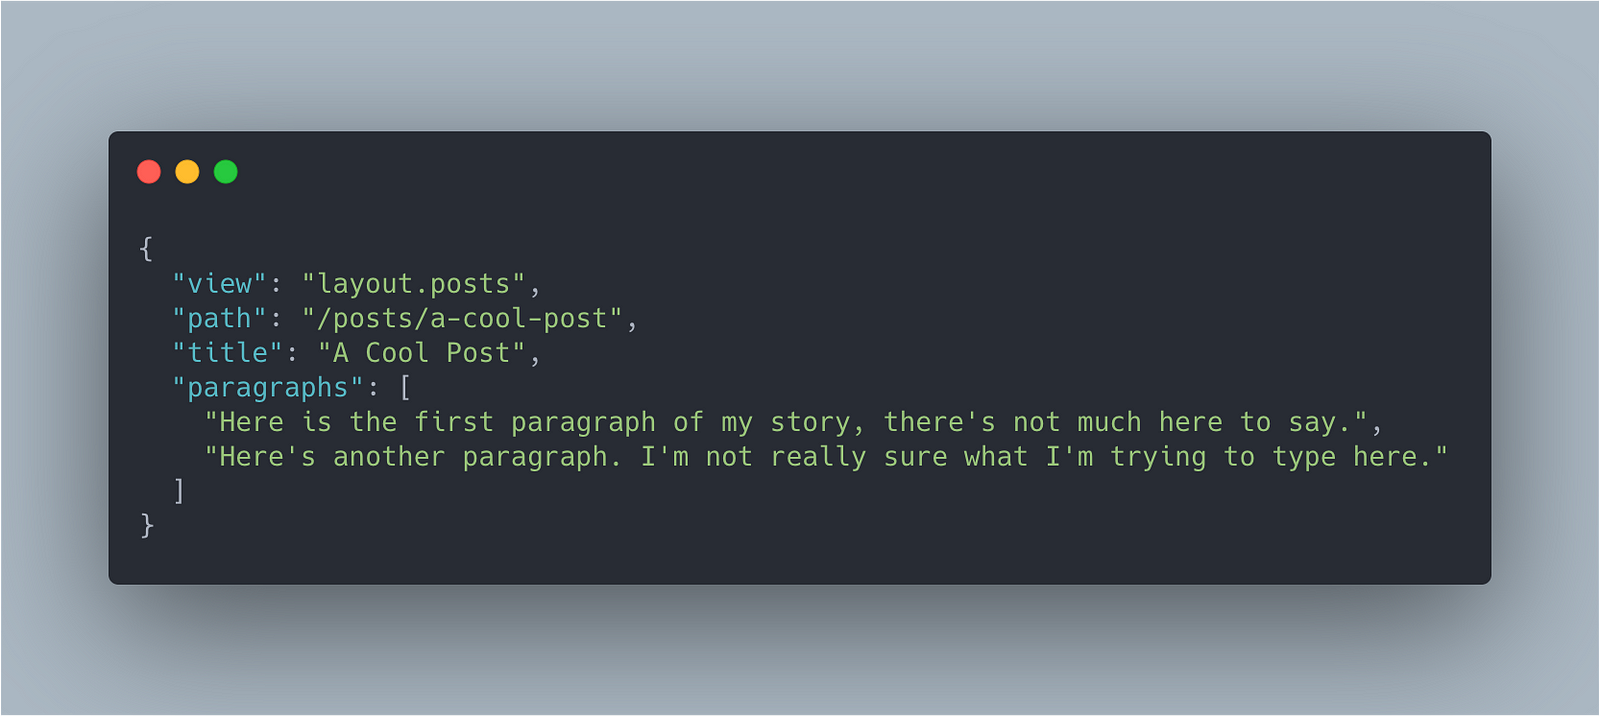
The biggest difference between the two is how the data is accessed in your Blade templates.
For JSON content files, each key is used as an individual variable. So in the above examples, you'd reference a single $title string and a $paragraphs array of strings.
When using Markdown however, everything below the last three dashes is injected as a single $content variable. If using this, Blade's unescaped echo shortcut {!! $content !!} will render out the proper HTML tags that get compiled from the Markdown file.
Modifying assets
Cleaver uses Sass files for styling, and auto-loads in the Tailwind CSS utility library. You can add your own styles, or override what's currently configured, under the resources/assets/sass directory. By default, there's a single file in there called app.scss that solely imports the Tailwind library, but feel free to import your own Sass files or add in and remove custom classes as you see fit.
Navigating to the resources/assets/js directory, you'll see a single JavaScript file called app.js. Just like with the styles, Cleaver has a very bare-bones approach here. All this file does is import lodash, jQuery, and Vue, giving your site a modern and extensible starting point for front-end functionality. Since we're pulling everything in through Laravel's webpack wrapper Mix, you can use ES6 syntax and import/require statements throughout your JavaScript.
Building and deployment
To compile your assets and build the static site using your content files, all you have to do is run one of the following commands from your project's root:
npm run dev or npm run production
Both will compile all of your CSS/JS and build your site, but running production will take minify and version your asset files. The latter does take a little bit longer, but is recommended if you're going to be deploying your site to a production environment.
Additionally, you can use npm run watch which will start up a local webserver and watch all changes to your assets and content files, re-compiling the entire site every time you save a change.
Once you've built your site, the entire markup tree and assets will be available in a dist directory at the root of your project. You can either upload this file directly to the public root of your webserver and serve it that way, or commit the entire project and adjust your webserver's public folder to point to the dist directory.
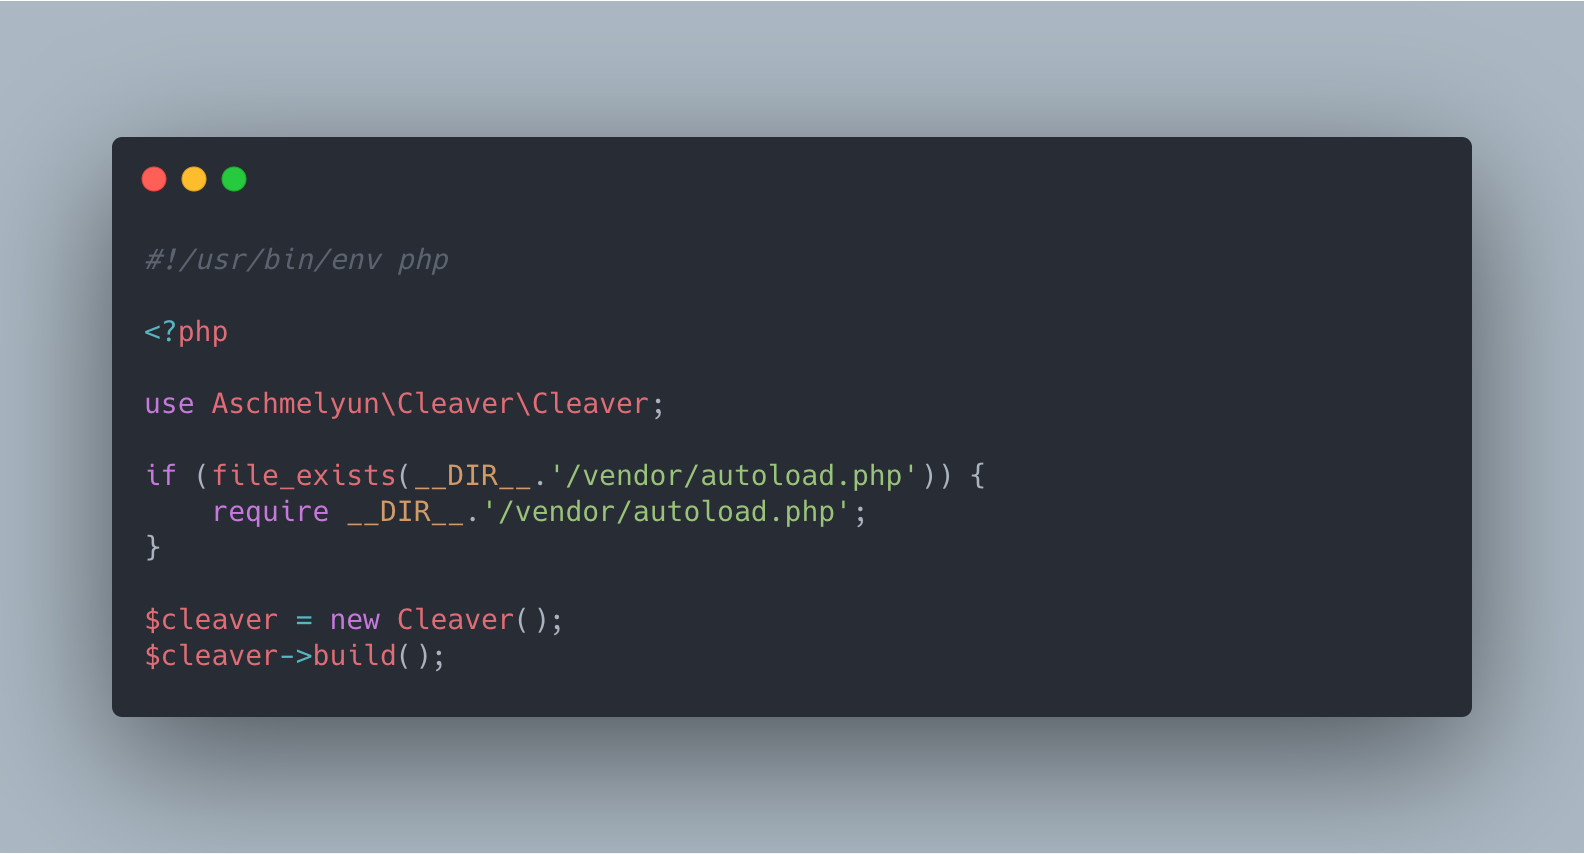
Note: If you want to compile your site, but not your assets, you can directly run the php cleaver command from your project root.
That's it!
I hope you enjoyed this (quick?) rundown of Cleaver, the static site generator I ended up building to scratch my own itch. If you end up giving it a try and have any questions, concerns, or feature requests, I would love to hear about them! Feel free to open an issue in GitHub, or reach out directly to me on Twitter.
My Newsletter
Subscribe using the form below and about 2-3 times a month you'll receive an email containing project updates, video previews, and inspiring links I've found across the web dev and tech space.